Hello lovelies! It’s been a while.. I know, I know.. Will update what I’ve been up to in another post.
Today, I would like to share with you my current brow routine and also introduce a new product that has found it’s way into my almost everyday brow routine.
Ta daa….
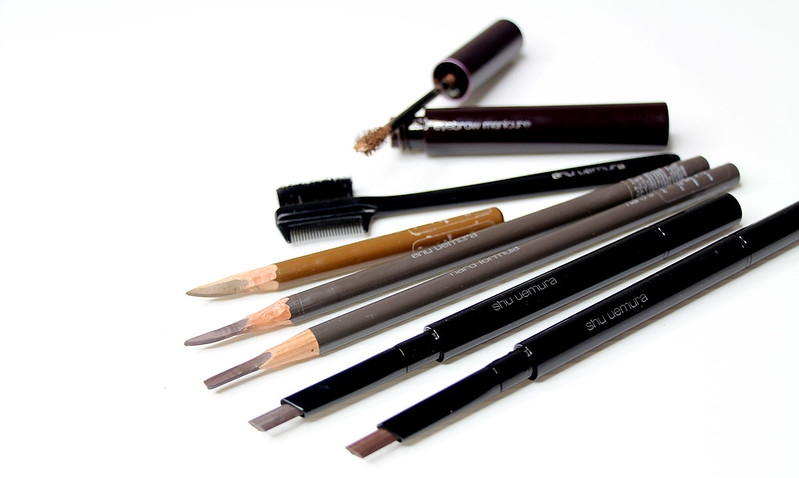
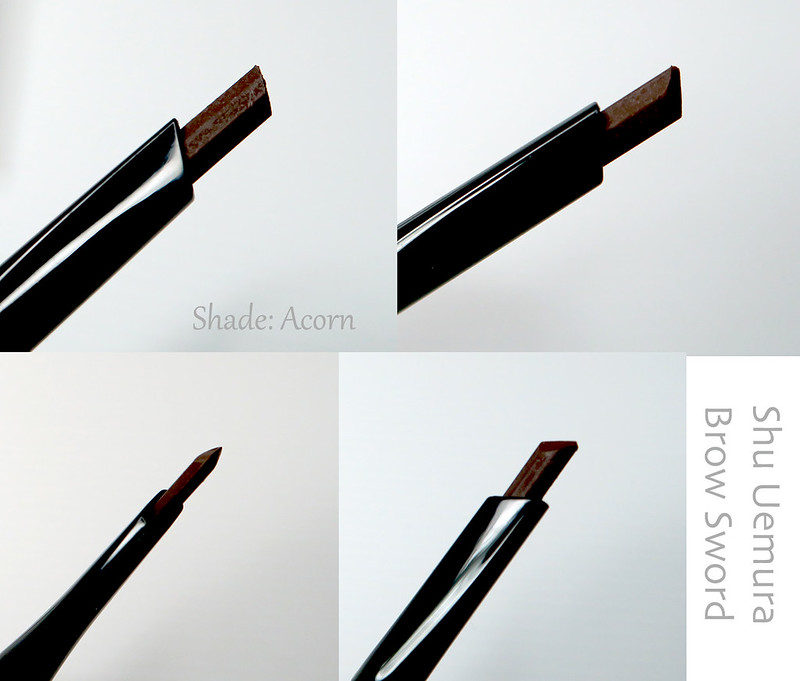
For the longest time, I have been using the Shu Uemura Hard 9 brow pencil to fill in my brows. It is by far one of the best and most natural looking brow pencils in the market. It’s natural because it’s not waxy like most brow pencils. If you tried to swatch the pencil on the back of your hands, virtually nothing comes out. You need to first apply some foundation or get a base applied before using the pencil. The only issue I have with the Hard 9 pencil is the sharpening. As you can see from the above picture, 2 of the 3 pencils look wonky and poorly sharpened (done by yours truly)! You can get them sharpened at all Shu Uemura counters but I was too lazy so decided to give it a go myself with a pen knife.
For the Hard 9 pencils – I typically use Seal Brown which is a versatile cool brown. I also use Walnut Brown when my hair was lighter and recently I also sometimes use Acorn. As much as I love the Hard 9 pencils, they were not able to fill in some of the bigger gaps I have in my brows. So this is where a liquid brow pen or the new Brow:Sword comes in.
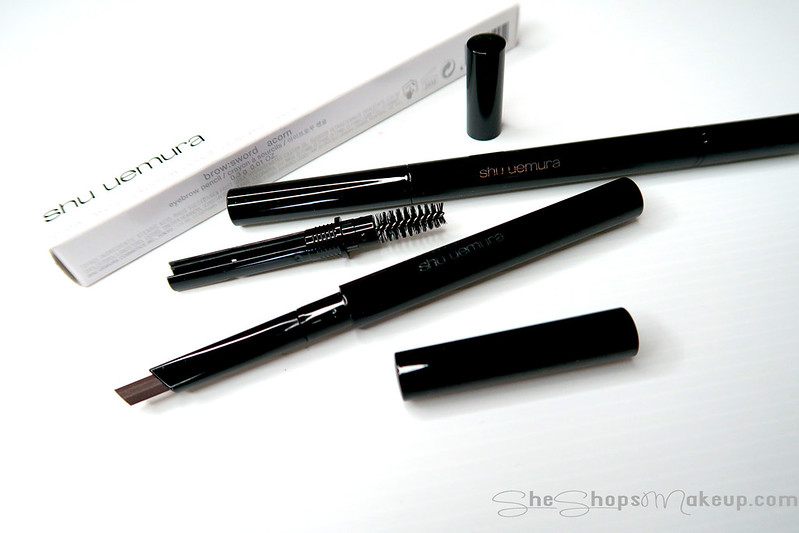
The Brow:Sword is the 1st pre-shaped naginatabrow pencil easy and soft, yet precise and defined. The beautiful smooth texture allows for easy drawing and comes with a pre-set sharpener for precision. Unwanted lines are quickly and easily erased thanks to the convenient brush tip to give a beautiful, perfectly finished look.
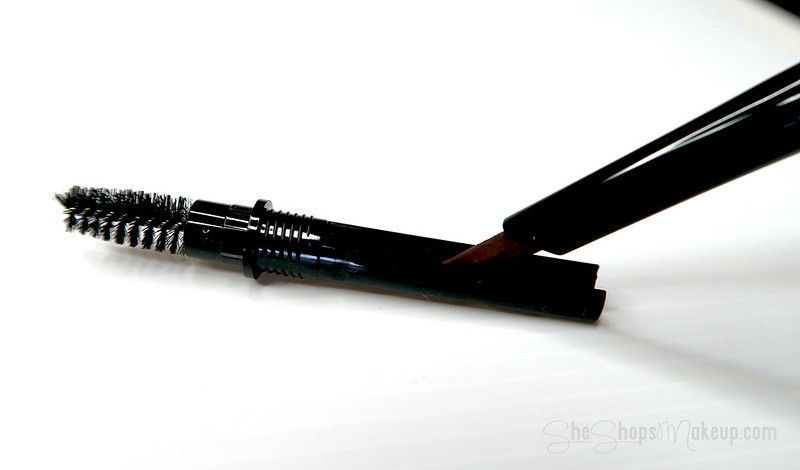
The Brow:Sword comes in 5 colours and is retailing at $53 (case + refill) and $28 (refill). It’s quite an interesting looking pencil because there are actually 3 parts to it – the pencil, spoolie and a sharpener. This allows you to sharpen your pencil on the go, just like how you would sharpen a sword, hence the name.
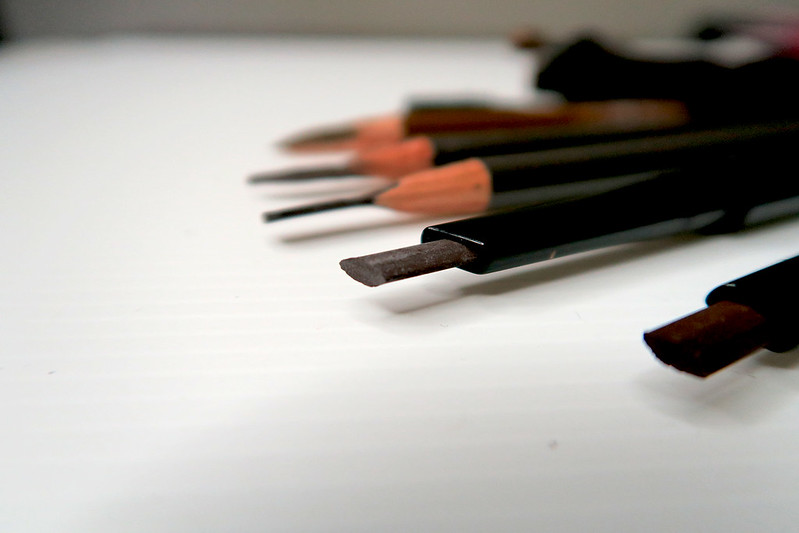
Sharpening the Brow:Sword is really easy. All you need to do is to hold the pencil at a 45 degree angle and swipe. It will sharpen the edges to make it easier to fill in the brows. I have been using my Brow:Sword for over a month now and never had to sharpen the pencil again. Once sharpen, it really just maintains it’s shape (at least for me) and that is a good thing.
So how does the Brow:Sword compare to Hard 9?
I think the main difference is that the Brow:Sword is slightly waxier so it does a better job filling in the gaps in my brows. It’s not too waxy to the point of making the brows look stark and unruly like how some waxy brow pencils do. The other thing is of course the convenience. It is an all-in-one pencil that does not require pen knife sharpening.
So which do I prefer? Brow:Sword or Hard 9?
Personally, Hard 9 is still my favourite because it creates really natural looking brows. I simply fill in my gaps with brow liners.
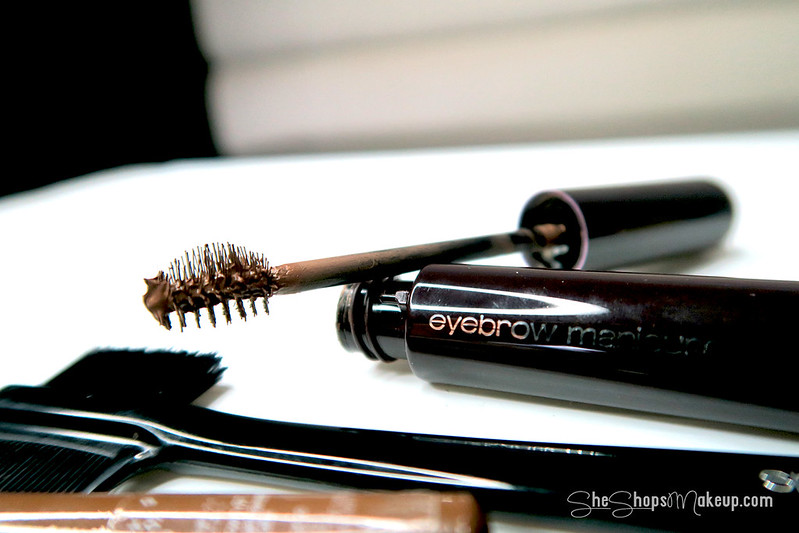
I have also been a fan of the Shu Uemura Eyebrow Manicure for a while now. I use the colour honey glaze to lighten the shade of my brow hair and to tame my brows into shape.
A typical eyebrow routine will consist of the above:
- Brow Liner – either Esprique or Eyeko
- Brow Pencil – either Shu Uemura Hard 9 or Brow:Sword
- Shu Uemura brow brush – this is the softest ever!
- Shu Uemura eyebrow manicure
Shu Uemura Brow Bar offers a 3D eyebrow trimming and styling service for only $15. You can get your brows shaped, trimmed and styled to any of the 4 possible looks – Natural, Sweet, Sharp and Glamorous. Click here to read more about the service and the 4 styles you can pick from.
My Eyebrow Routine
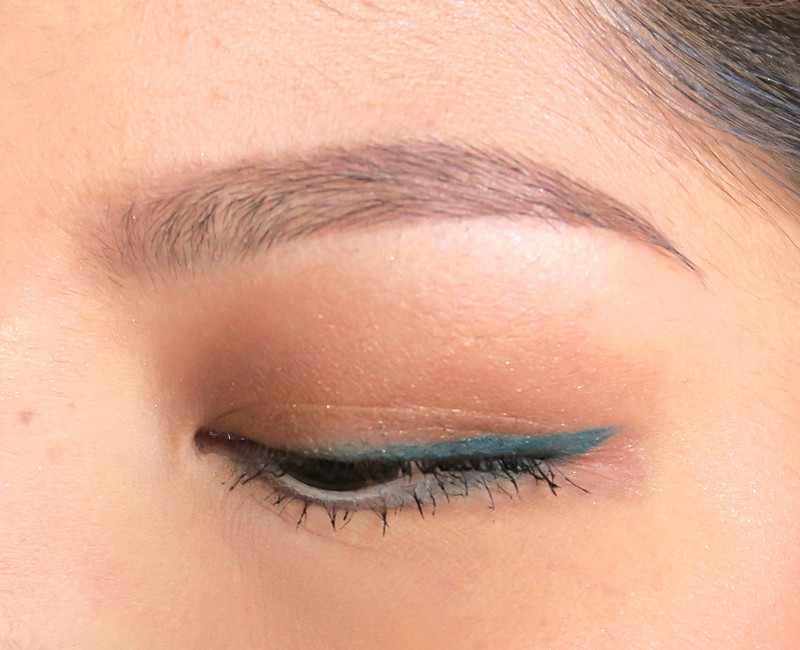
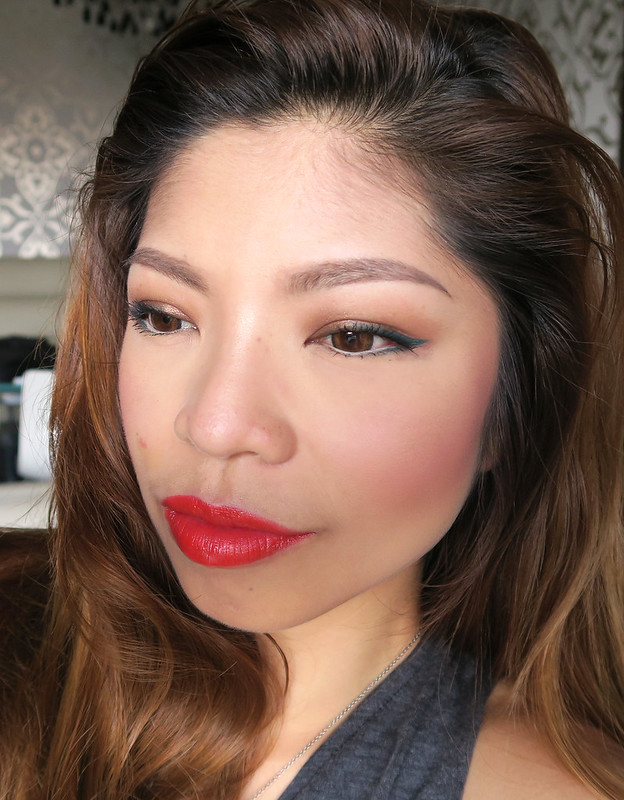
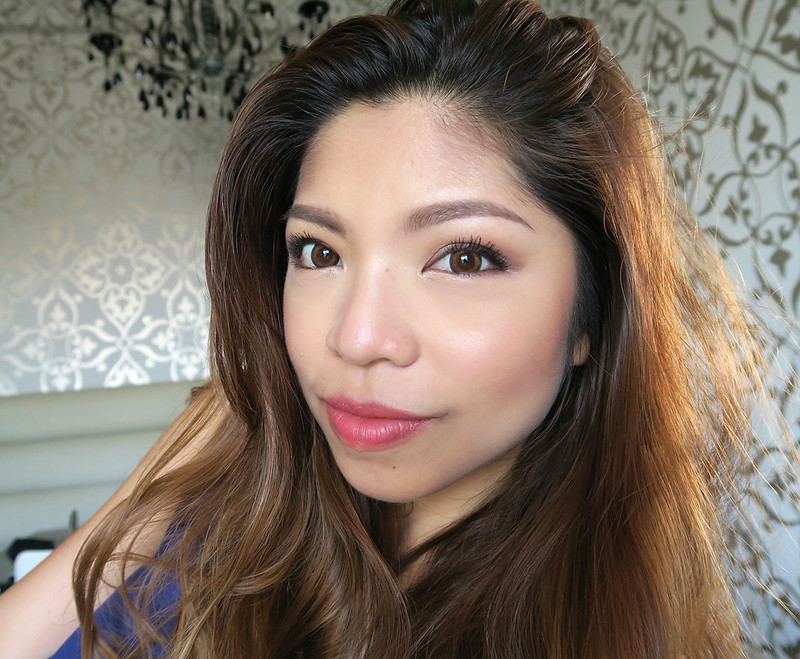
(sorry I don’t have step by step pictures, but the below pictures will showcase the finished look):
- Begin filling in the bigger gaps with the brow liner.
- Using the brow pencil, I will trace the outline of my brows – both top and bottom
- Lightly fill in the brows with brow pencil
- Brush through from centre of brows to the outer corner
- To create a slight gradient, I would brush the inner 1/4 of the brows towards the middle
- Follow with brow manicure or brow gel
Hope this has been helpful. What are some of your favourite brow products?
